I’M SO EXCITED!!!! My full apartment makeover reveal is finally HERE, and now I can share more of my apartment on Instagram stories without feeling like I’m giving something away.
Home design is one of my favorite hobbies, so this project was incredibly fun and rewarding for me. Since I live by myself and work (and do schoolwork) from home, it is very important for me to live in a space that I love and makes me feel comfortable.
I had been looking for apartments for months before I even got accepted into my grad program. My two major requirements were windows (for food photography, plants, and my sanity) and being in a central location. I don’t have a car anymore, so I needed to be close to campus and downtown.
I saw apartments in this building months ago online, and I kept coming back to it. The bright windows, beautiful hard wood floors, cozy feeling… I loved it. I finally signed a lease once I got accepted, and then the design planning began! (ok, let’s be honest, I started planning way before I signed the lease)
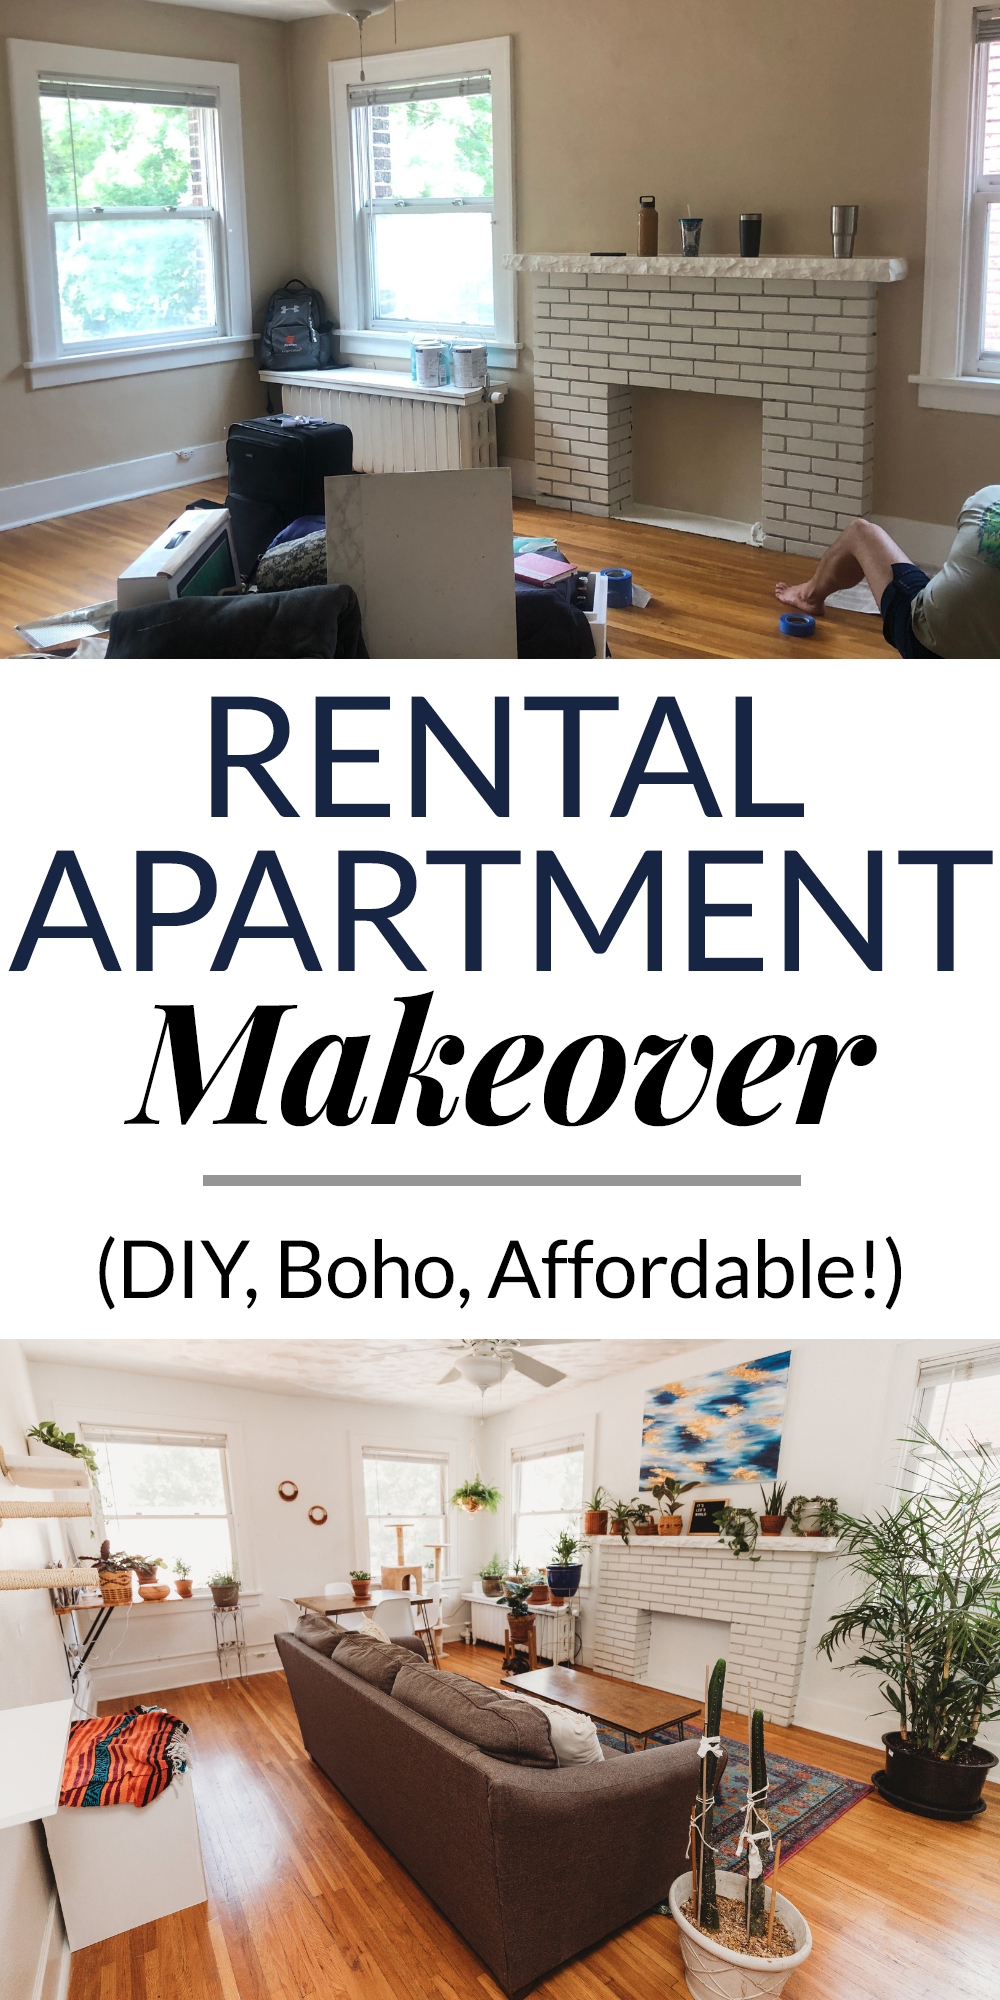
Some of the before pictures are below! It started out as a pretty standard, empty apartment with beige walls, but I could see the potential.
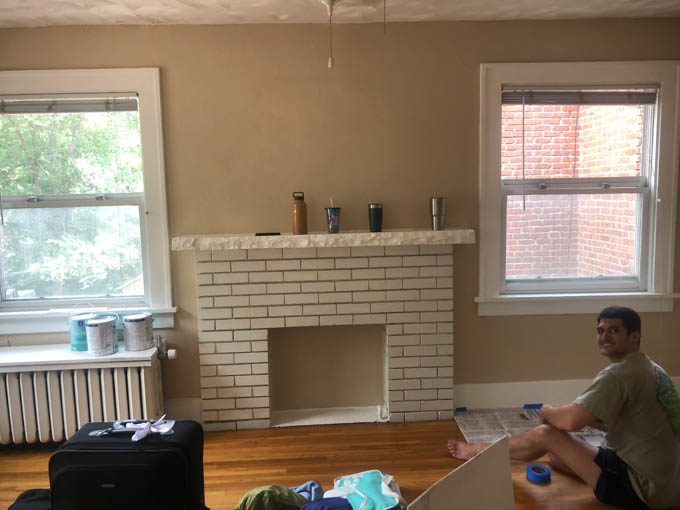
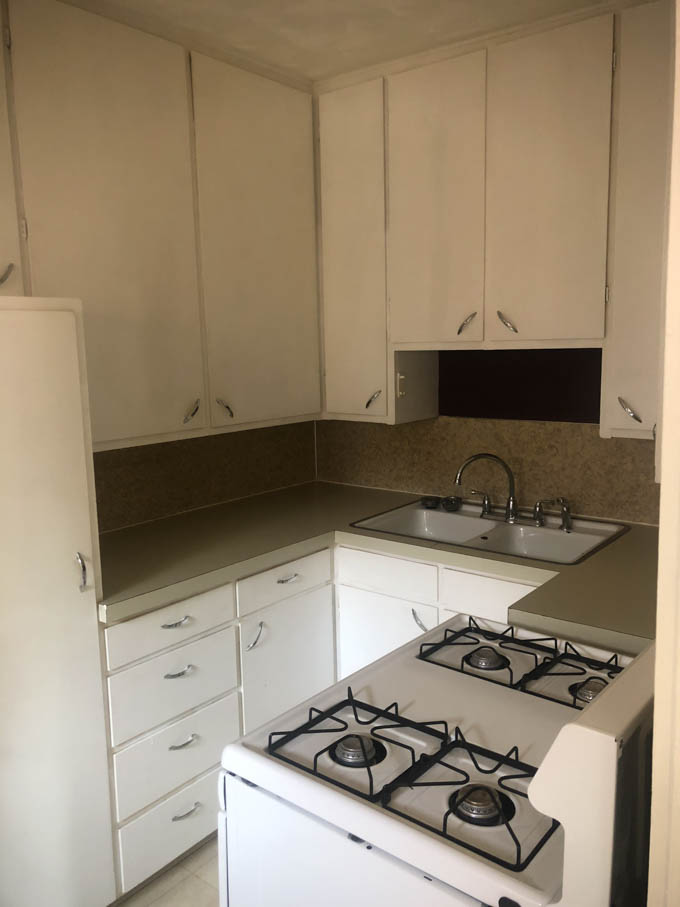
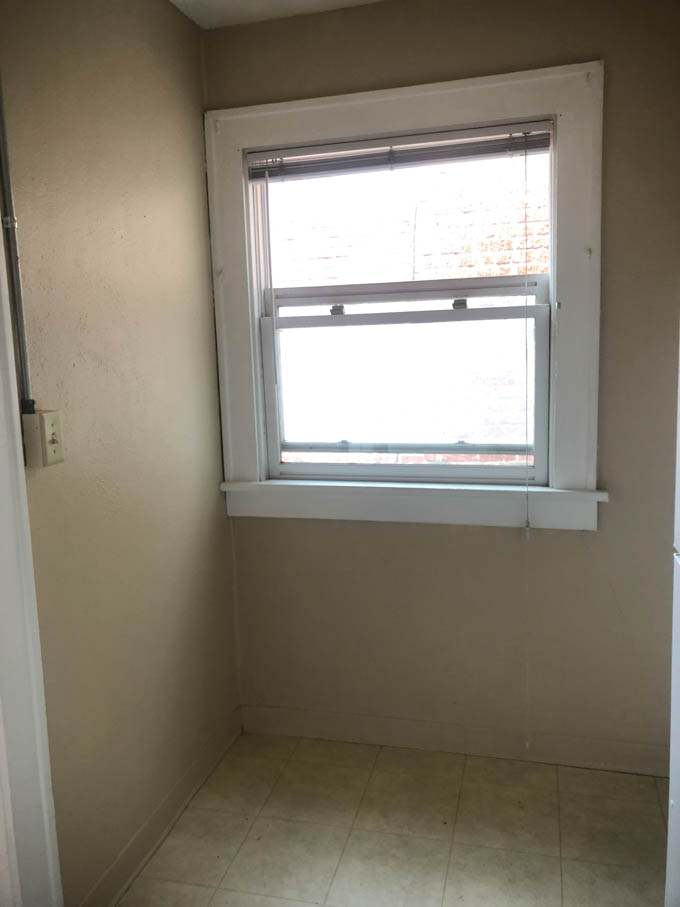
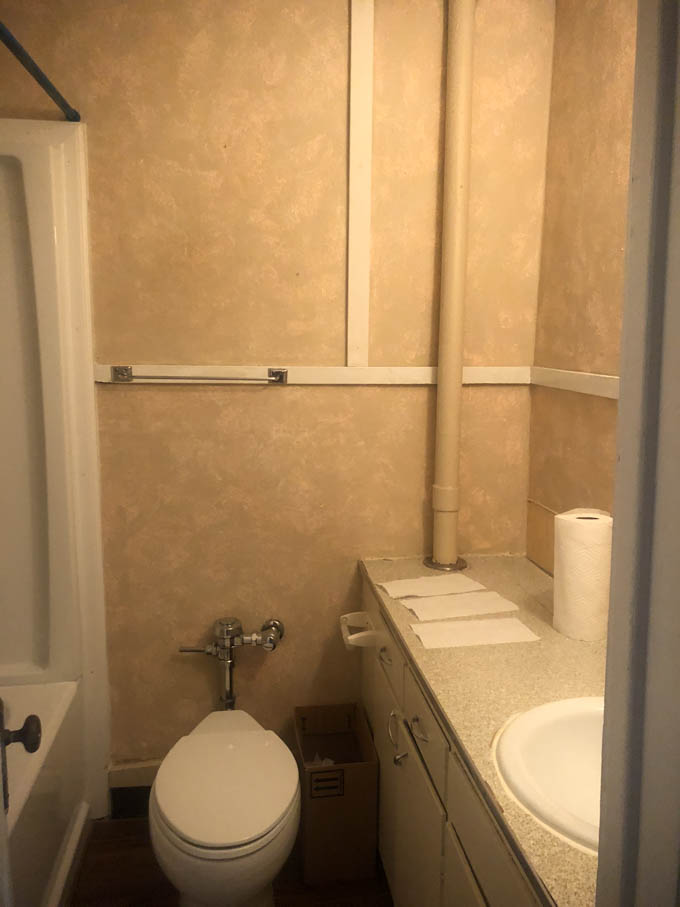
I got permission from my landlord to paint the walls and cabinets white, which instantly brightened the space. I used Sherwin-Williams Harmony Interior Acrylic Latex Paint in Pure White 7005 for the entire apartment (I needed about 5 gallons). I used the Eg-shel finish for the living room, bedroom, and bathroom, and the Semi-Gloss finish for the kitchen and bathroom.
Sherwin-Williams was kind enough to gift me a few gallons of paint for this project! I went with their Harmony line because it contains zero VOCs (volatile organic compounds) and can help reduce household odors. It’s also GreenGuard® Indoor Air Quality Certified! We seriously did not have to deal with any harsh smells while we were painting—it was amazing! Two coats did the trick.
For the rest of the changes, I just had to get a little creative with rental-friendly “renovations” and fill the space with items that spoke to my style!
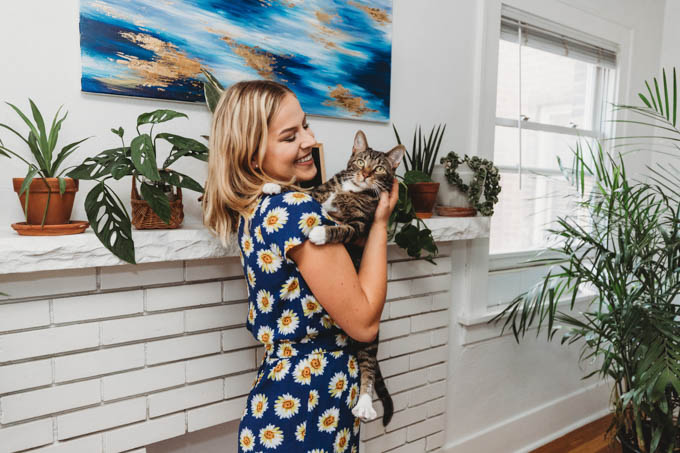
LIVING / DINING ROOM
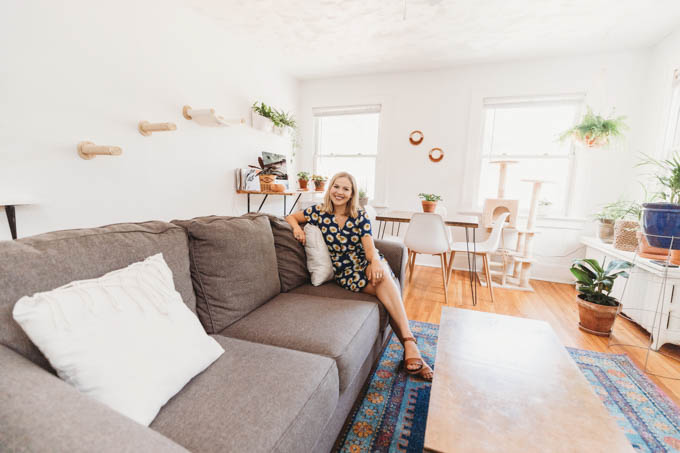
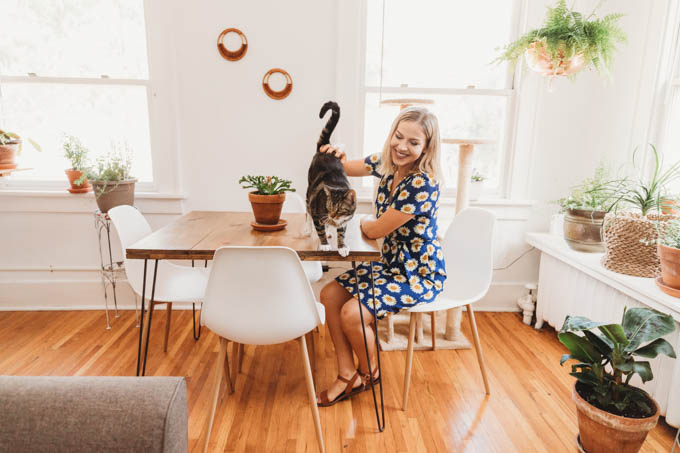
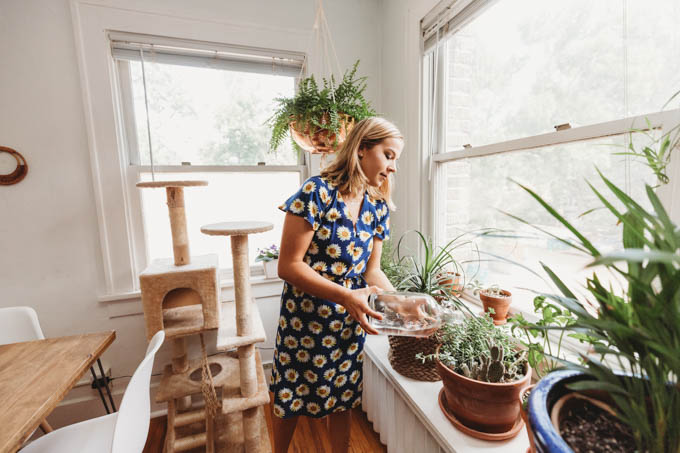
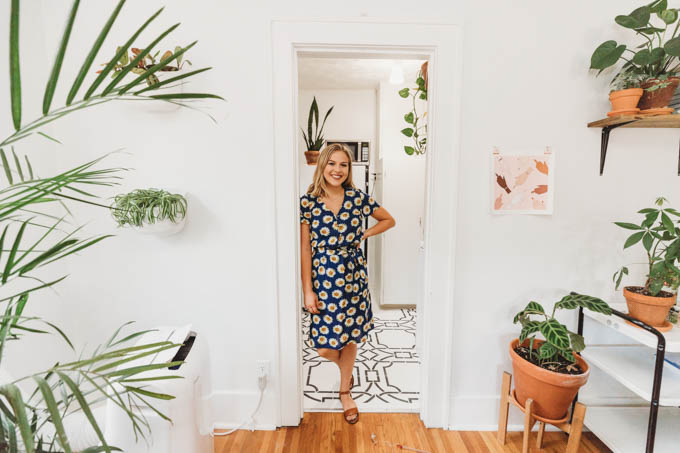
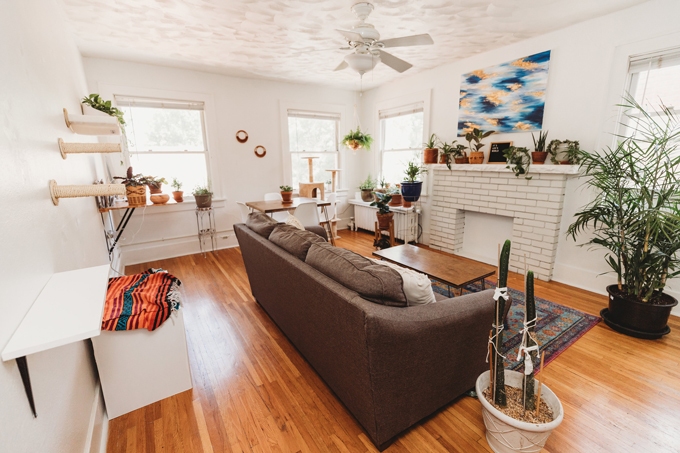
I’m #blessed with a large, bright, open living space that I spend the majority of my time in. I have FOUR windows in this room, which is literally the best thing in the world.
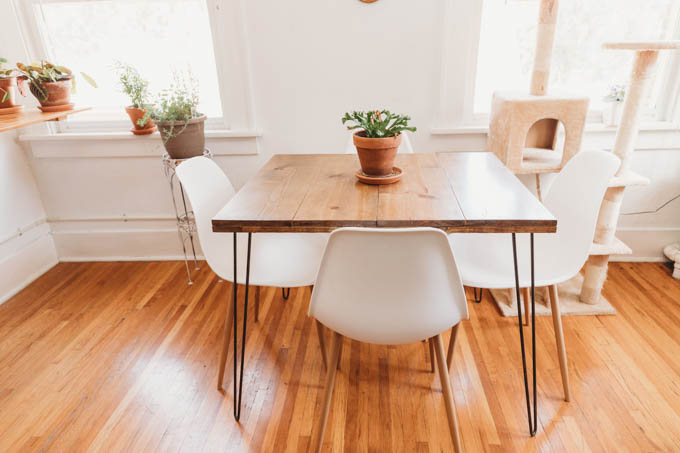
Most of the furniture I brought with me from Louisiana: this couch (under $500!), this rug from Rugs USA, a Craigslist bar cart, these dining room chairs, Leo’s cat tree, pillows with DIY macrame covers, and my homemade coffee and dining tables.
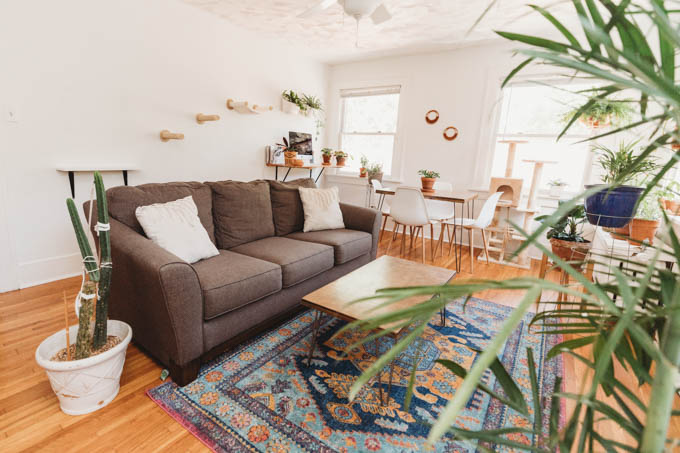
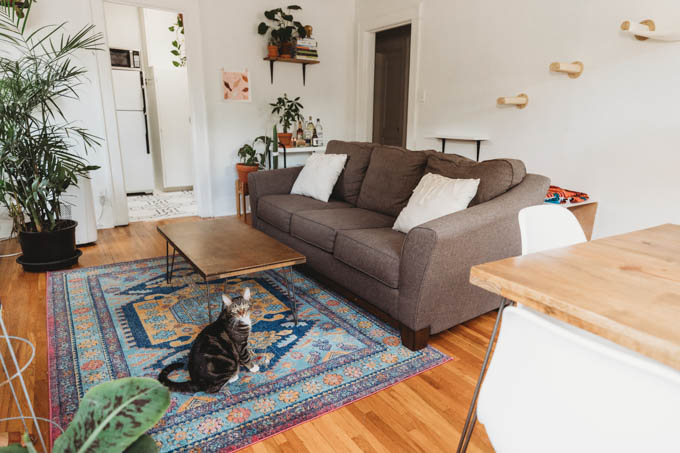
Here’s a tutorial for a dining table similar to mine! Just use the measurements you want for your table. For the coffee table, it’s a piece of plywood with some long pieces of wood around the edges underneath. I used hairpin legs for both from Etsy.
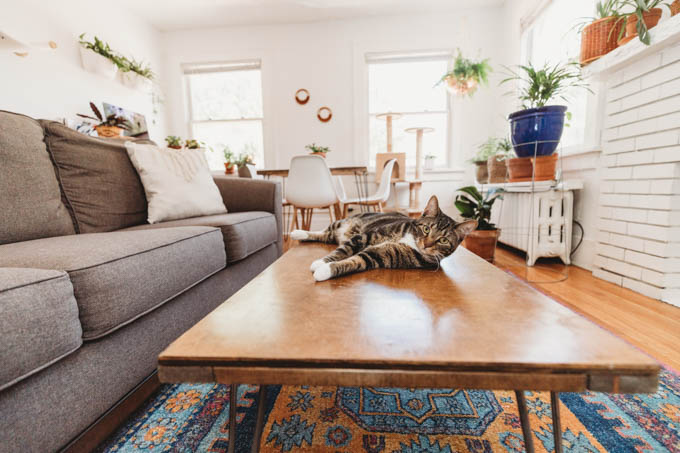
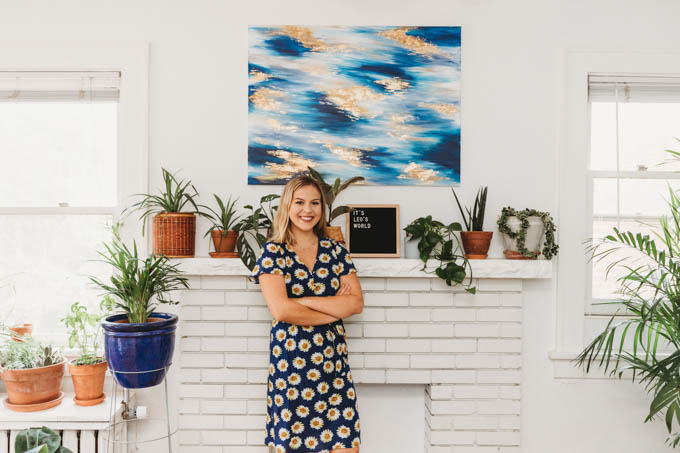
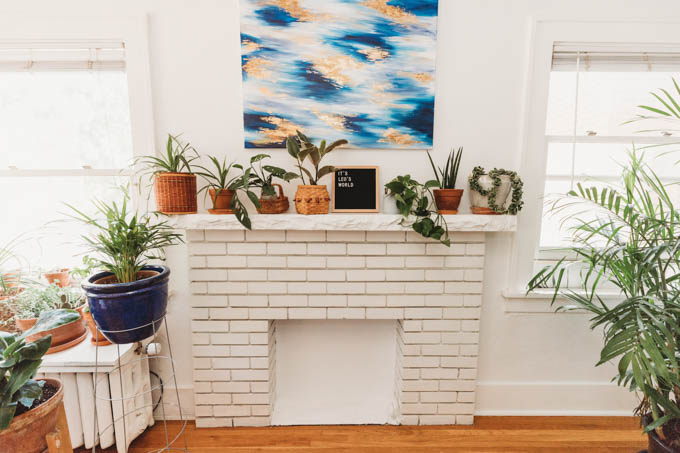
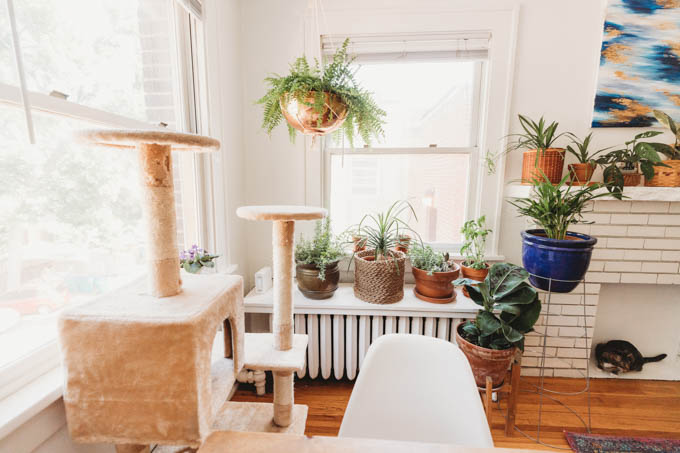
I really love this faux fireplace—it acts as a beautiful centerpiece of the room and, most importantly, a plant shelf!! Did you notice how many plants I’ve crammed into this bright room? Since taking these pictures, I’ve even added more… hehe. Some of the plants are in baskets from a thrift store! Also, notice my Letterfolk board?
This little dining table nook is such a sweet spot because the light comes in beautifully from the windows around it in the morning. Leo’s cat tree is nearby so he can simultaneously watch me and watch whatever is going on outside. (What a creeper.) You see those circular decorations on the wall? Those were handles on a purse I found at a thrift store. Genius, right?!
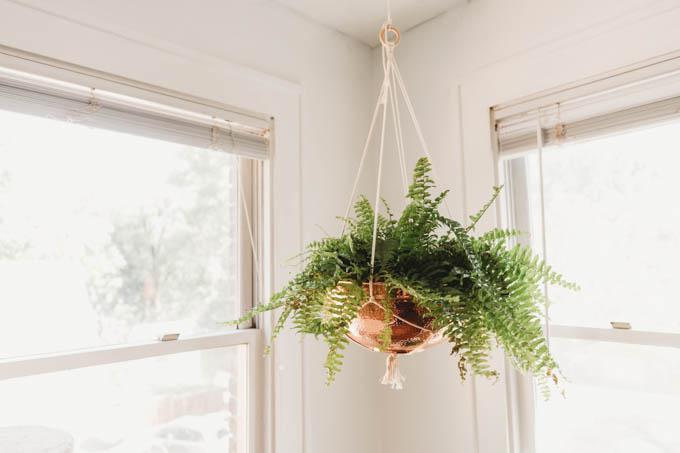
This is my first apartment with steam radiators, which I think actually look pretty cool and give a vintage feel to the space. I also made that a plant shelf because, duh. My hanging Boston Fern in a thrifted copper bowl ($15!) and DIY macrame hanger (tutorial) is one of my favorite additions to the room!
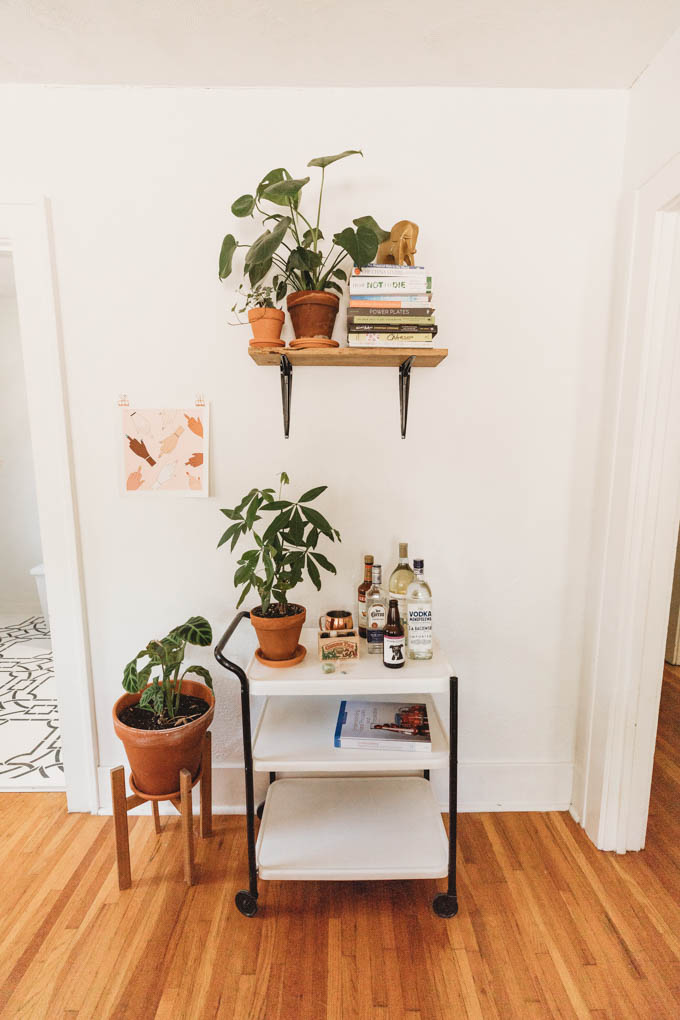
This bar cart is a golden Craigslist find that I freshened up with some black accent paint. It holds all the fixin’s for the best homemade margaritas and kombucha Moscow mules! Oh, I also DIYed that X plant stand… can you tell I love DIYs yet? These things cost $100+ in fancy home stores, but I made it for probably less than $20—here’s a tutorial.
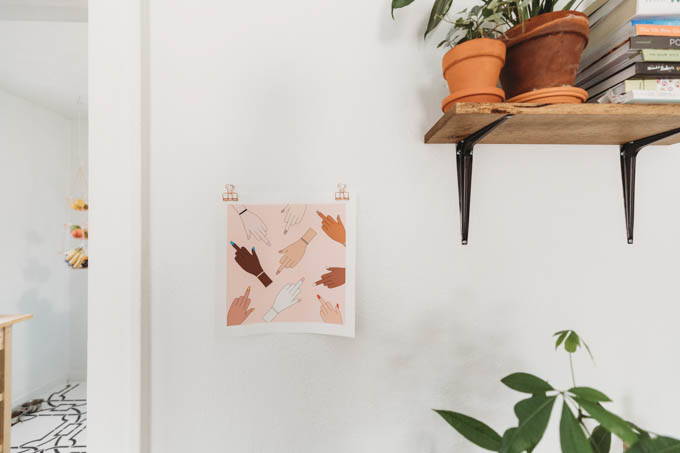
I ordered that amazing middle finger print from Society6 because… mood. Above it is a homemade shelf (literally a stained piece of wood with L-brackets) holding my precious cookbooks and, no surprise, more plants.
OFFICE
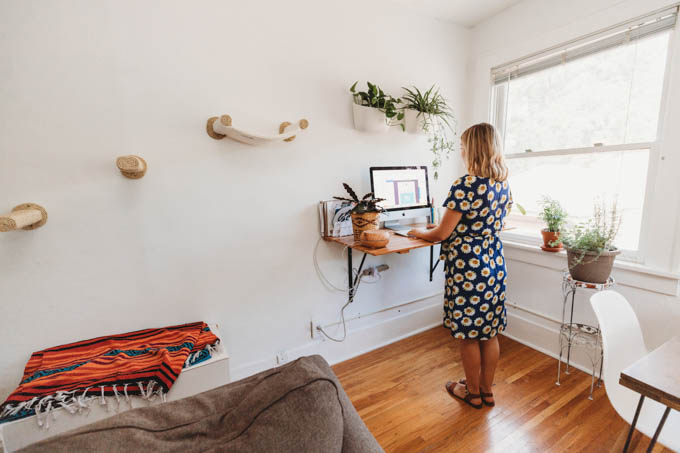
Where the magic happens! I made this standing desk for my last apartment and brought it with me to CO. It’s super simple to make; you just need a piece of plywood, large L-brackets (check the weight limits), a power drill, and screws. I covered my desk with this butcher block contact paper—you’ll see it again in the kitchen. 😉
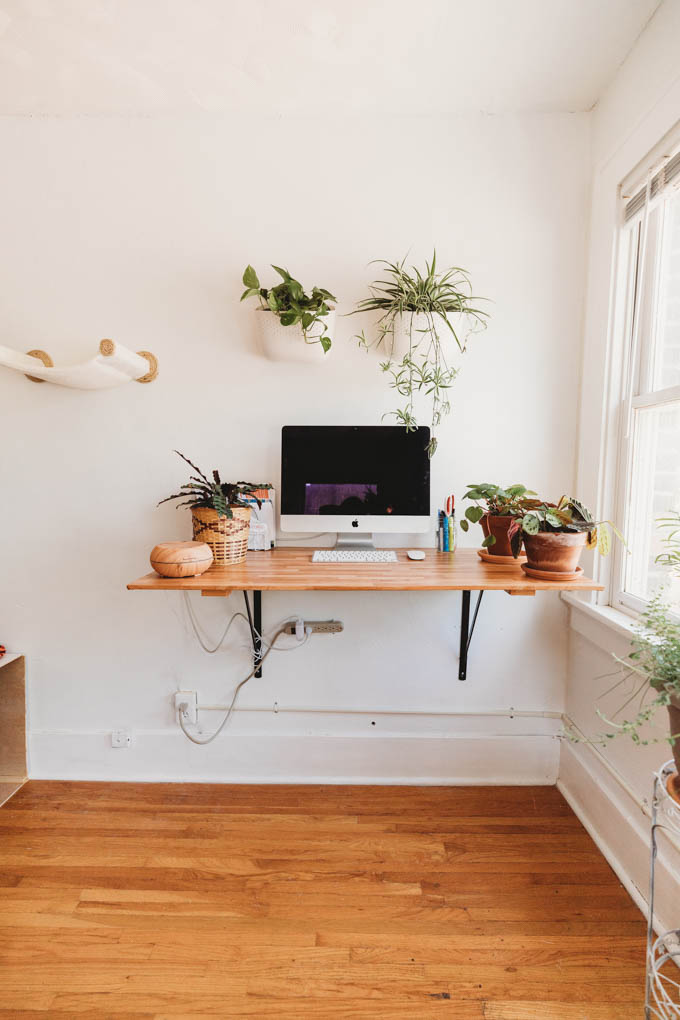
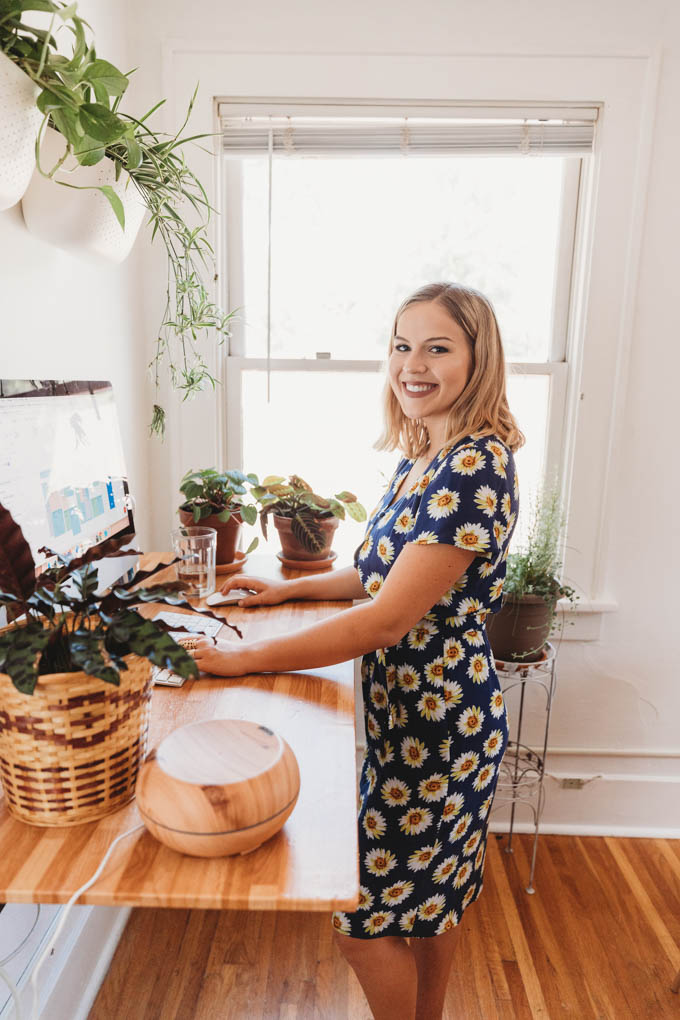
I try to keep my desk clutter-free, aside from plants, a jar of pens, a paper organizer, and an essential oil diffuser. Funny story about this iMac: I won it at my prom after-party! Who knew it would be so important in the work I do now. #fate
Above my desk are two WallyGro wall planters that I LOVE, one with a spider plant and one with a pothos plant. These wall planters are great for taking advantage of extra wall space and/or keeping toxic plants (like pothos) away from pets.
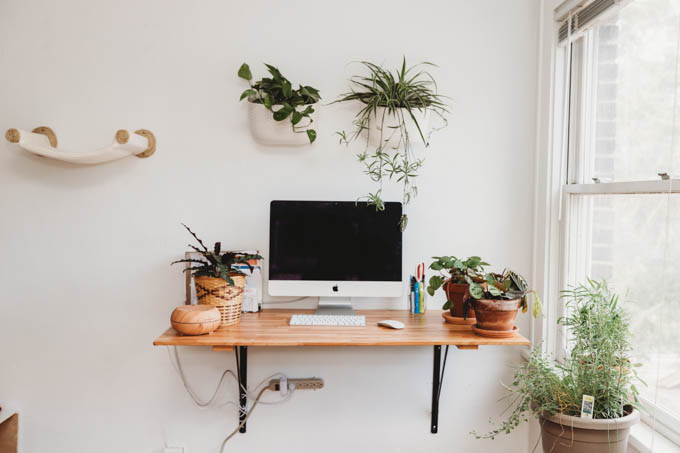
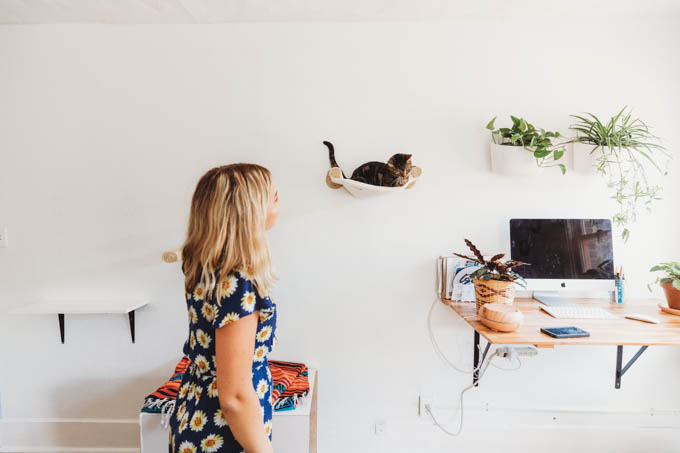
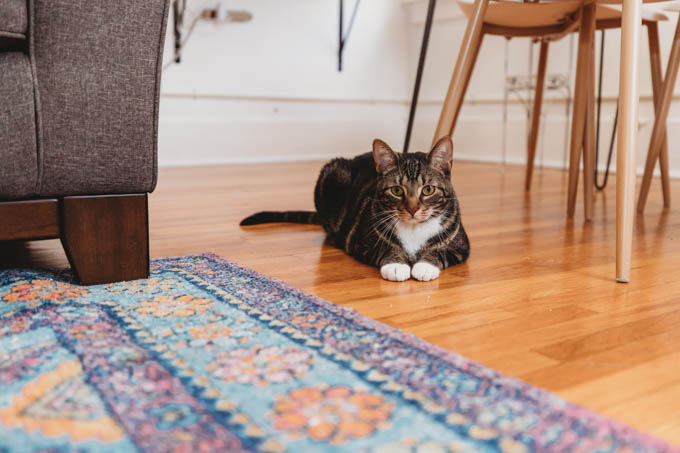
Next to my desk is a cat hammock with two sisal steps from Etsy, because Leo is a stage-five clinger and must be near me always. He was skeptical of it at first, but now spends 75% of his day in the hammock. The white box with colorful blanket below it is a DIY litter box cover that doubles as a jumping off point.
KITCHEN
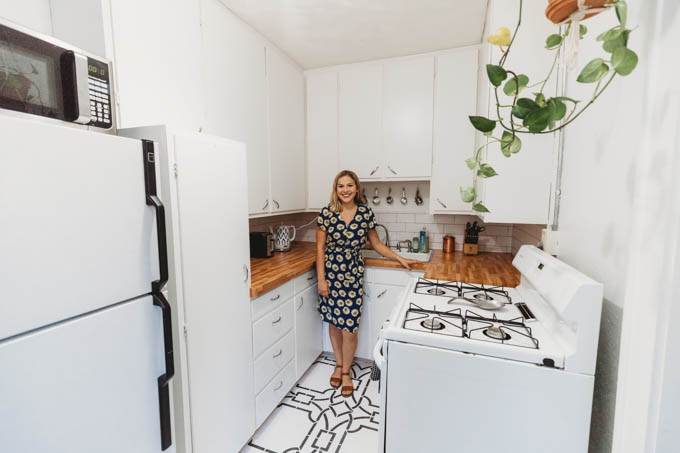
THE BEST PART. OMG. I have been dying to share the kitchen with you all. This finished room is my baby. With my limits on what I could change, I had to get real creative in the process of creating my dream kitchen, aka my 2nd work space.
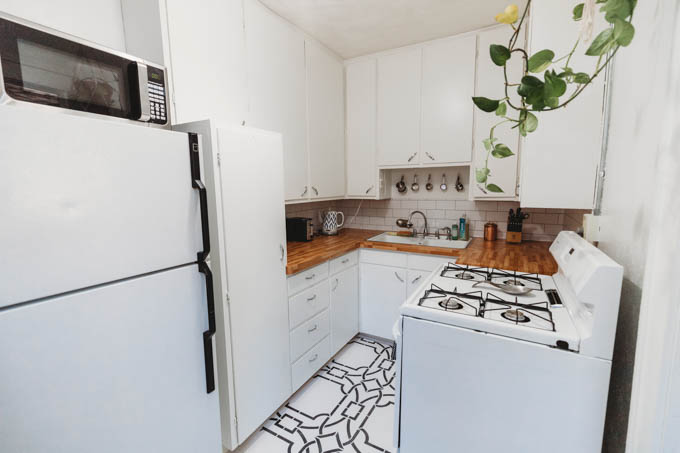
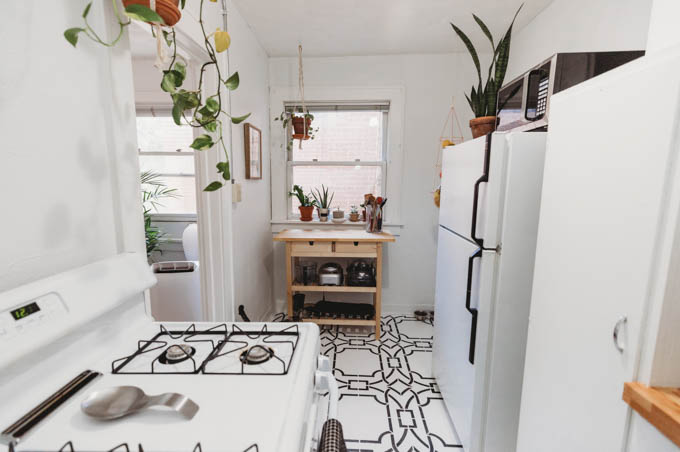
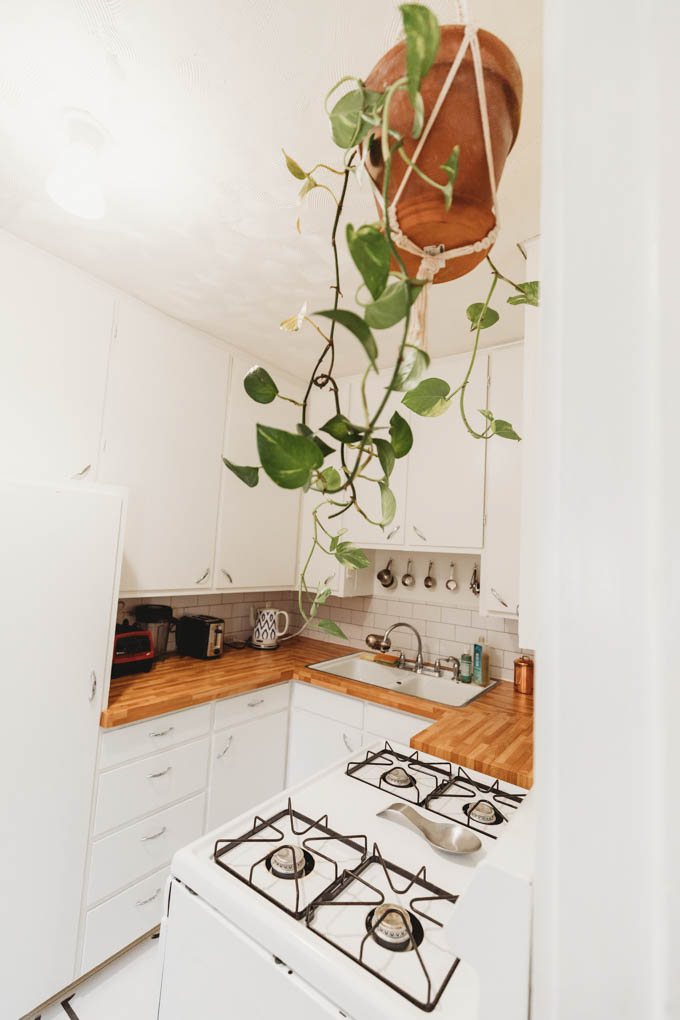
It’s a pretty small kitchen (without a dishwasher), but it works for me. We painted the cabinets and walls white, which instantly made the room feel bigger. I have SO MUCH cabinet space—great for a food blogger!
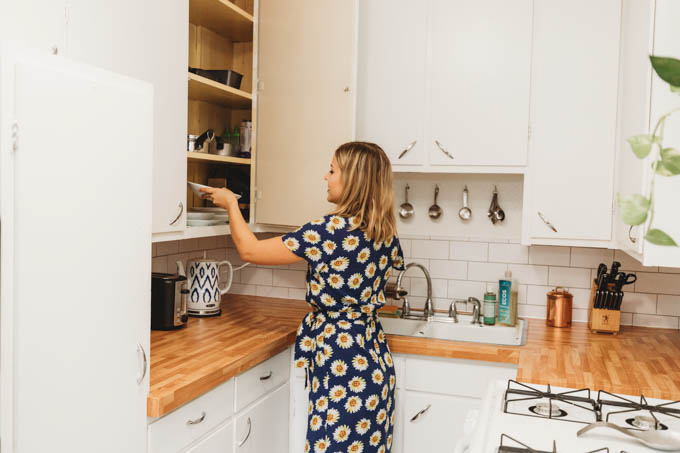
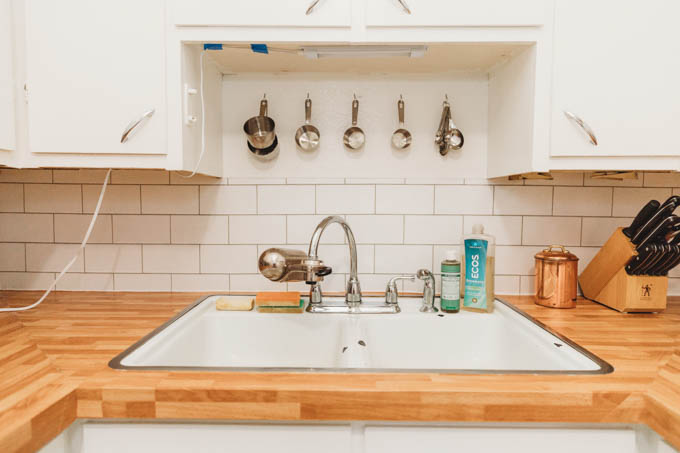
I had to bring in my favorite renter-friendly DIY tool: contact paper! The countertops, backsplash, and floor are all covered in contact paper. Can you believe it?! Tip: measure the square inches you’ll need for whatever surface you’re covering to determine how many rolls you need. Overestimate how much you need! Here’s a tutorial for how to apply contact paper.
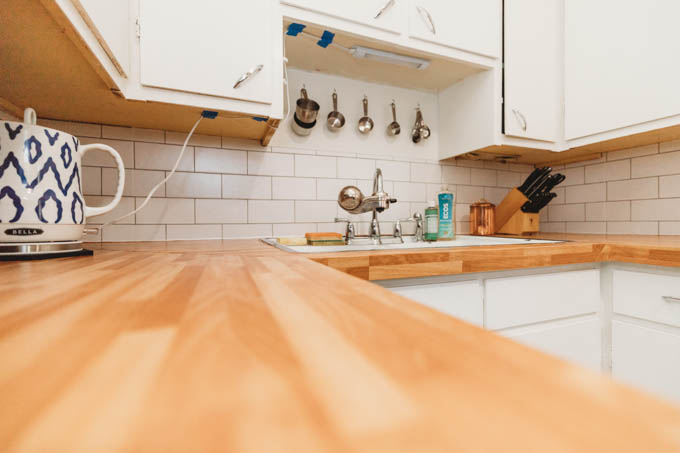
For the countertops, I used the same butcher block contact paper that I used on my desk. This obviously isn’t meant to be a permanent solution, but it works for my rental right now. I just have to be a little extra careful when I’m handling things on it. I applied this clear caulk around the sink to seal the edges.
Do you know about Dr. Bronner’s Pure-Castile Soap? This stuff is my number one cleaning staple. I use it to make all-purpose cleaner, floor cleaner, produce rinse, body wash, and so much more. Organic & fair-trade!
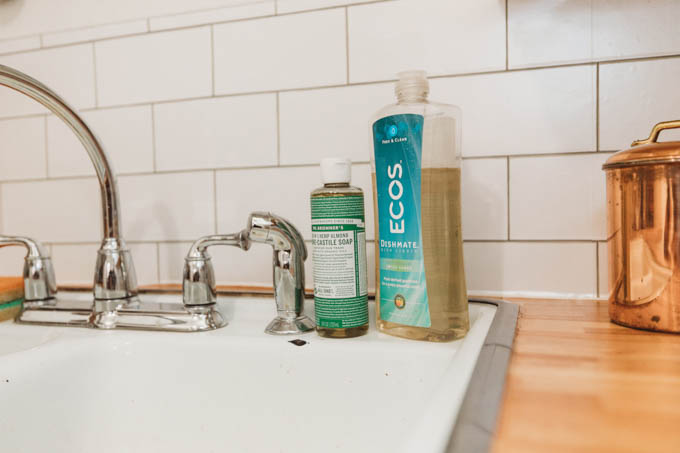
I used this subway tile contact paper from Target for the backsplash. Above the backsplash near the sink, I added some hooks for measuring cups and spoons. Renters: you can totally use screws and hooks in your walls! When you move out, fill them with spackle and cover with paint.
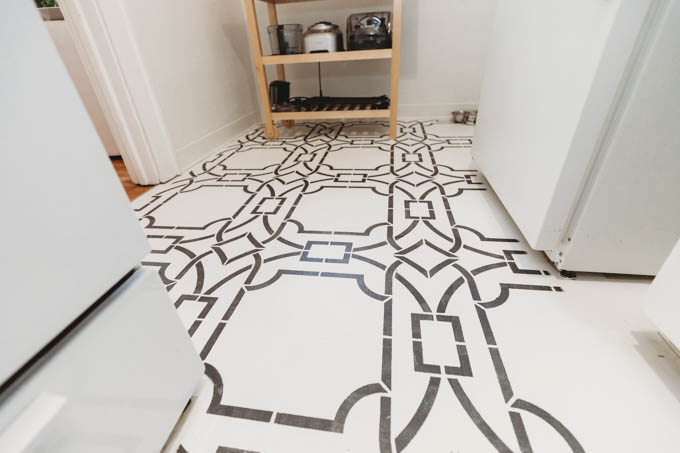
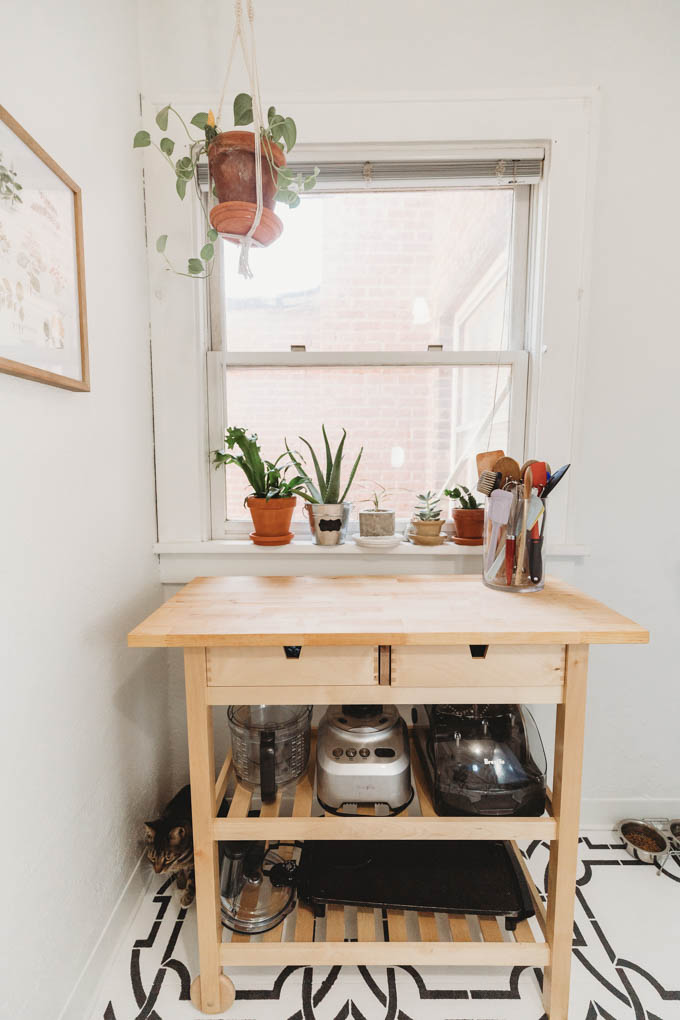
Okay so can we talk about THE FLOOR?! My dream. A sane person probably would’ve covered the beige linoleum with a rug, but I had to go all out. First, I covered the floor with solid white contact paper. Then I painted it with the Sherwin-Williams paint to make it less glossy. Royal Design Studio was kind enough to send the Contempo Trellis stencil I had been eyeing. I used black exterior paint since it’s a heavy traffic area. It was a looooong night of stenciling, but it was so worth it.
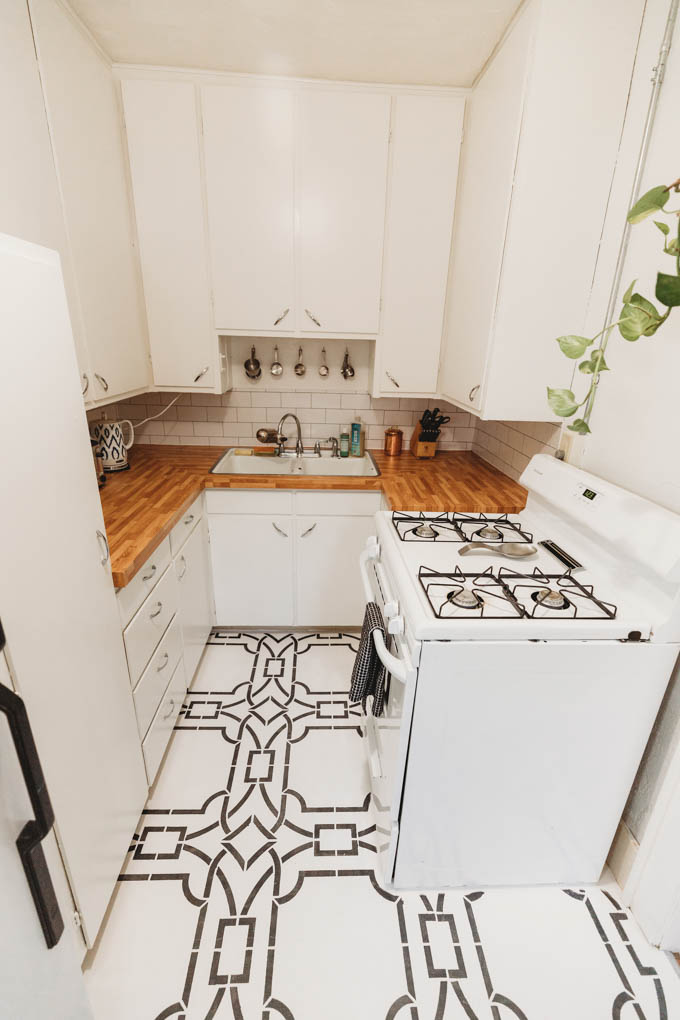
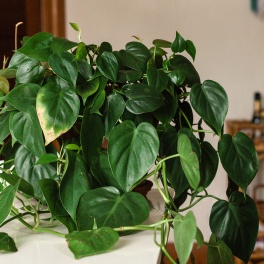
That hanging pothos above the stove? That is a cutting from my aunt’s plant. She passed away 20 years ago, so this plant is 20+ years old. My grandma, my mom, and I all have a few cuttings. Aren’t plants the coolest?!
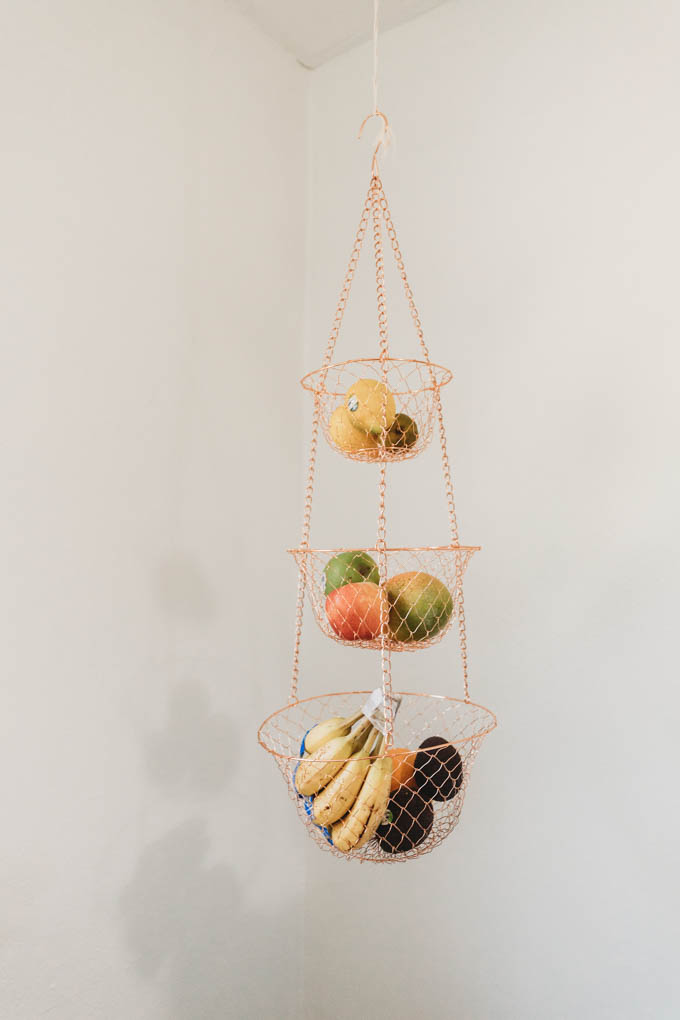
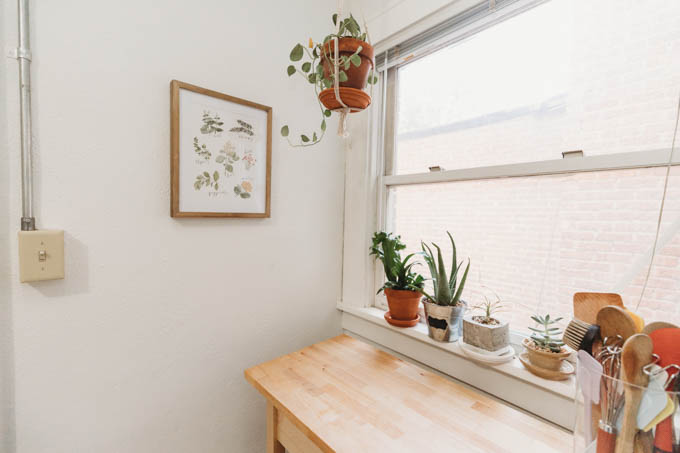
THIS little kitchen nook though. 😍 I bought this kitchen cart from Ikea and added some bulky kitchen appliances to the shelves. I keep my reusable produce bags in the drawers. I love the plants on the window sill and in the macrame hanger. A framed print of herbs from my grandma and this copper produce basket are beautiful touches.
BATHROOM
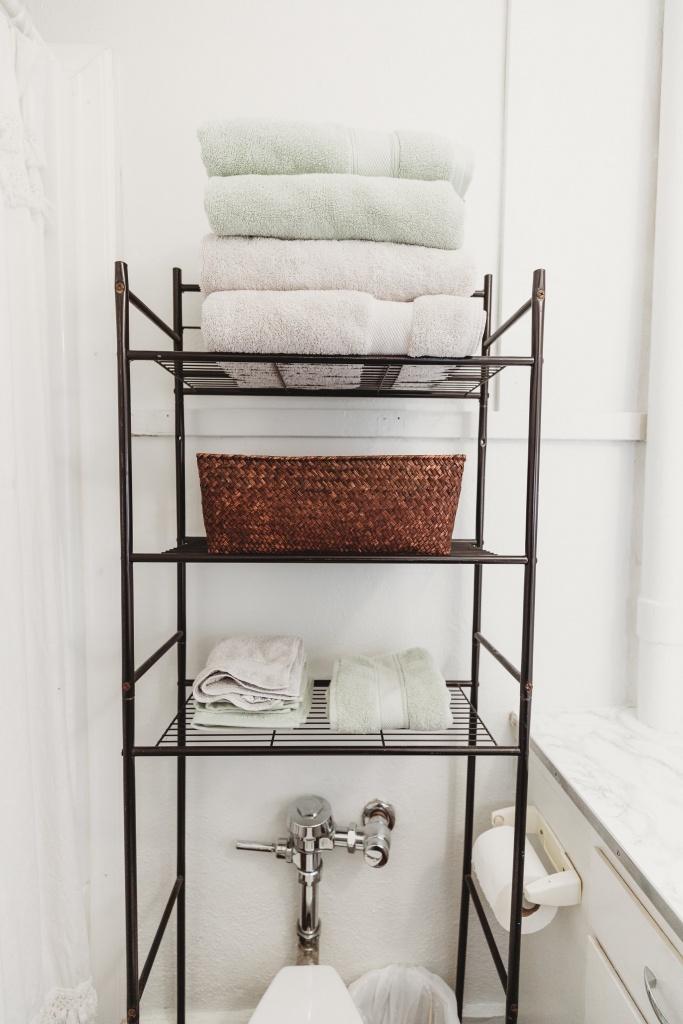
I love the amount of counter space in my bathroom, plus my whole shower/bath was new when I moved in, which was really cool. Also, notice that I have a commercial toilet? I think that’s hilarious.
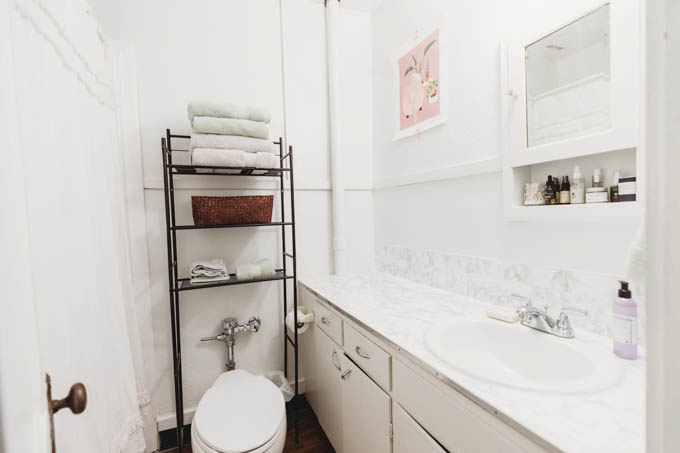
Guess what? The countertops are covered with this white marble contact paper! It’s the same contact paper I use for the backdrop of many of my food photos. It makes this room feel extra fancy, but it’s a hella cheap fix and is renter-friendly. I used this clear caulk around the sink. I’ve got some Dr. Bronner’s Organic Hand & Body Lotion (organic & fair-trade) by the sink because my skin needs all the hydration it can get up here in CO.
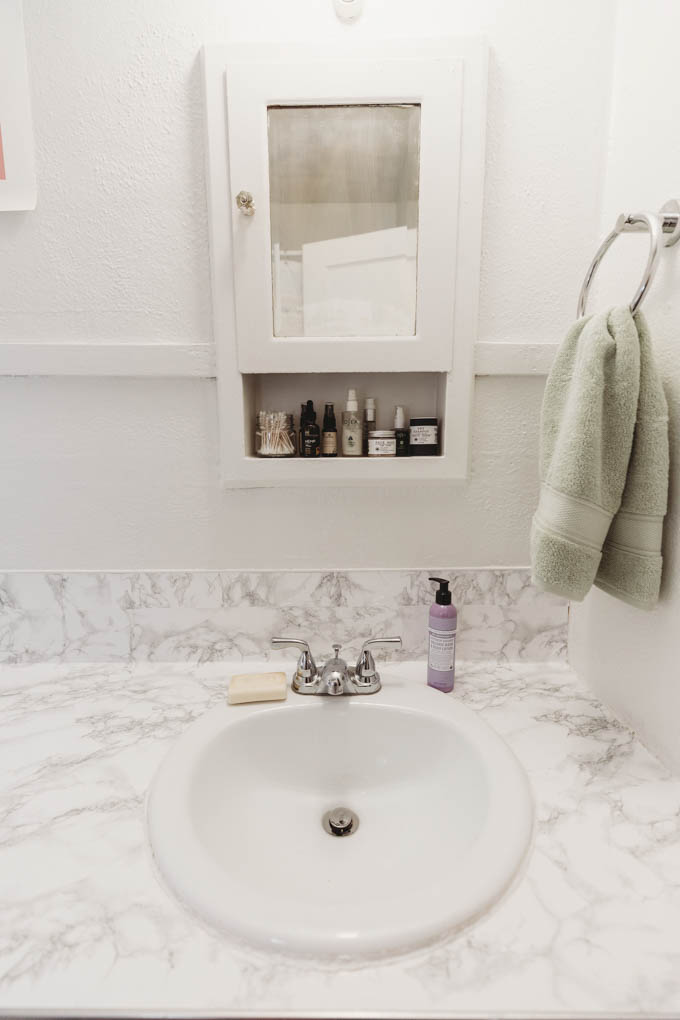
The vintage medicine cabinet is so cute! I keep my go-to skincare products on the exposed shelf (I love Franklin & Whitman and Osea) and other toiletries in the cabinet. The print is from Society6 as well; she exudes my goal mood.
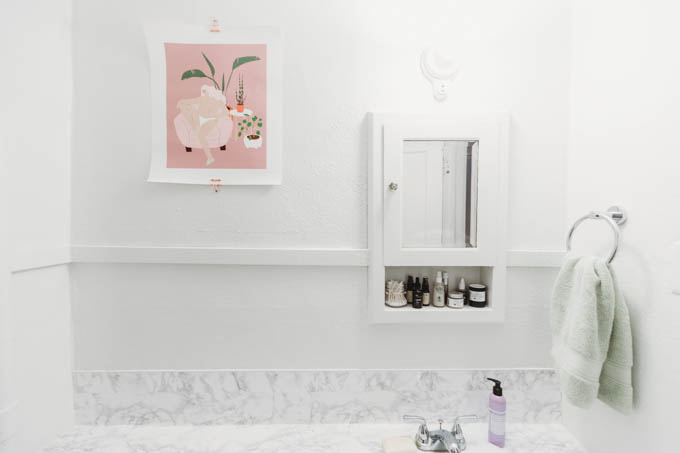
I have this small rug (not pictured) from Rugs USA and this macrame shower curtain. Organic cotton towels are from Grund America!

BEDROOM
I won’t go into too much detail about the furniture and products in my bedroom since I did a whole post on the bedroom makeover, so I’ll just insert some pretty pictures and highlight the important features.
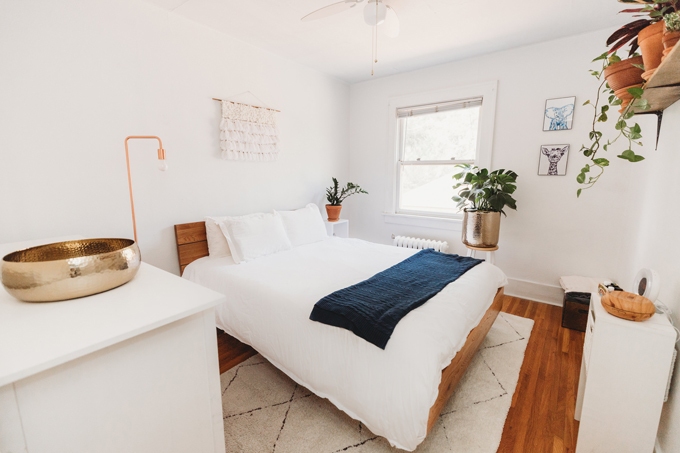
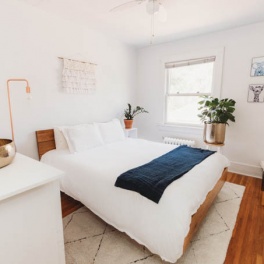
I have this rug from Rugs USA (I LOVE them, obviously), this dresser from Ikea, this bed frame and lamp from Article, and this mattress from Lull. I covered the front of the dresser drawers with (you guessed it) contact paper!
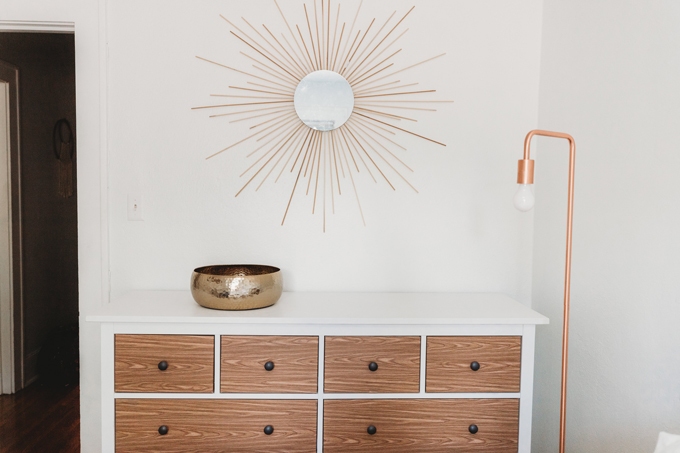
I DIYed the starburst mirror (tutorial), white yarn wall hanging (tutorial), the plant shelf, the end tables, and the animal paintings. I use this essential oil diffuser with this (affordable) set of essential oils!
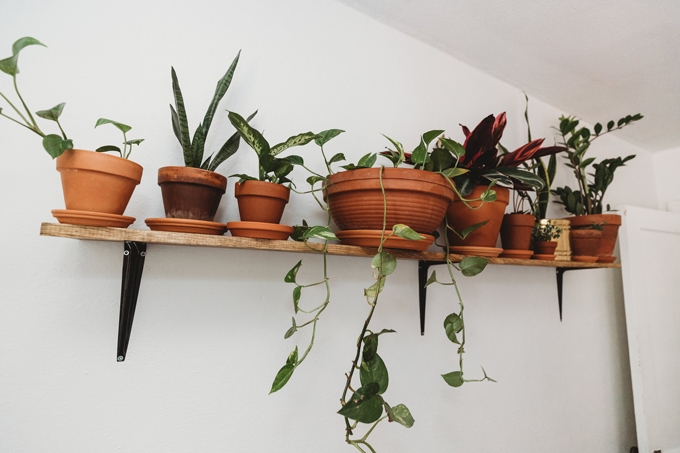
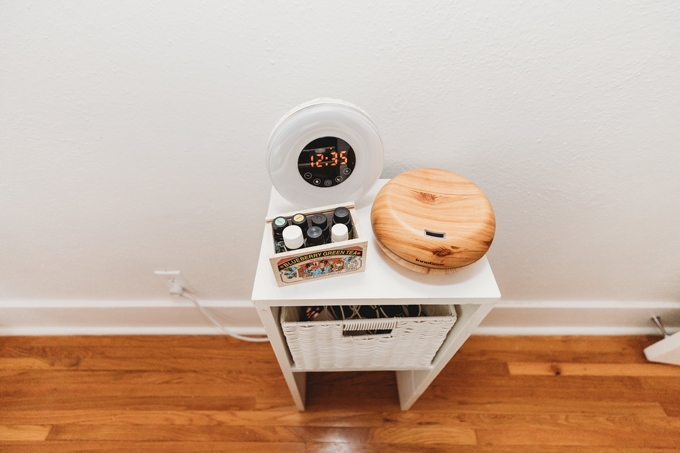
I should mention that I have a huge closet in my hallway, so that’s why there is no closet in the bedroom!
I hope you enjoyed my renter-friendly apartment makeover reveal and perhaps feel inspired to spruce up your space a bit! Decorating doesn’t have to be super pricy or complicated, just like eating well. As you’ve seen, most of the stuff in my place was either thrifted, upcycled, inexpensive to buy, or DIYed. Explore local thrift stores, Craigslist, and Facebook Marketplace—you never know what you’ll find!
If you have any questions about any aspect of the makeover, please let me know. I’ll be doing an in-depth post on the types of plants in my apartment and how to deal with toxic plants and pets. I hope to create some more DIY content for you all, so if there’s a certain thing you’ve been dying to make or saw in this post that you love, let me know!
I wish I could invite you all over for a dinner party in my little Colorado apartment. ❤️

Thanks to the brands who donated product for my apartment makeover: Sherwin-Williams, WallyGro, Dr. Bronner’s, Royal Design Studio Stencils, Lull, and Article. I really appreciate your generosity!
Photos by Wild Bliss Photography.
This post contains affiliate links. Thanks for supporting Emilie Eats!

